Filtering with Fast Fourier Transforms
The FFT command transforms an image into a frequency spectrum. Image noise appears as a repetitive pattern which is difficult to remove using standard spatial filtering tools. The FFT tool is especially designed to isolate and filter this noise, then transform and edit the noise pattern out of the image in easy steps.
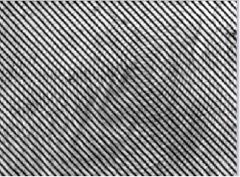
Load the image you want to filter for fixed pattern noise. The Fftprint.tif file from the Fast Fourier Transform folder is shown below. Notice the strong diagonal noise patterns.
Go to the Adjust tab and choose the FFT group.
From the drop-down menu, choose Remove Periodic Noise.
A copy of the original image with the noise removed appears in the workspace.
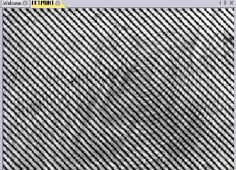
Image with noise Image
with noise removed
Viewing the Image Spectrum
To transform the image to its frequency spectrum, click the Forward button in the FFT drop-down menu.
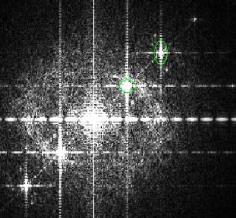
This process may take a few moments. When the transformation process is complete, the resulting image containing the spectrum appears in the workspace.

The spectrum appears as a centered cloud of points, with 4 bright points outside of the central point. These 4 points represent the pattern noise you see in the image.
To eliminate the anomalous frequencies (the 4 outside bright points) you can define an ROI around them and cut the frequencies from the spectrum.
From the FFT Filter Options dialog, select "Spike Cut" in the Type list box.
Click the Detect Spikes button.
The frequency spikes will be selected in the filtered image:
Click the Apply button.
The frequency spikes will be removed from the image. The majority of the anomalous frequencies have now been removed from the image.
To return the image to spatial form, without the noise, select "New Image" from the Inverse drop-down menu:
A copy of the original image, without the noise, appears in the workspace.